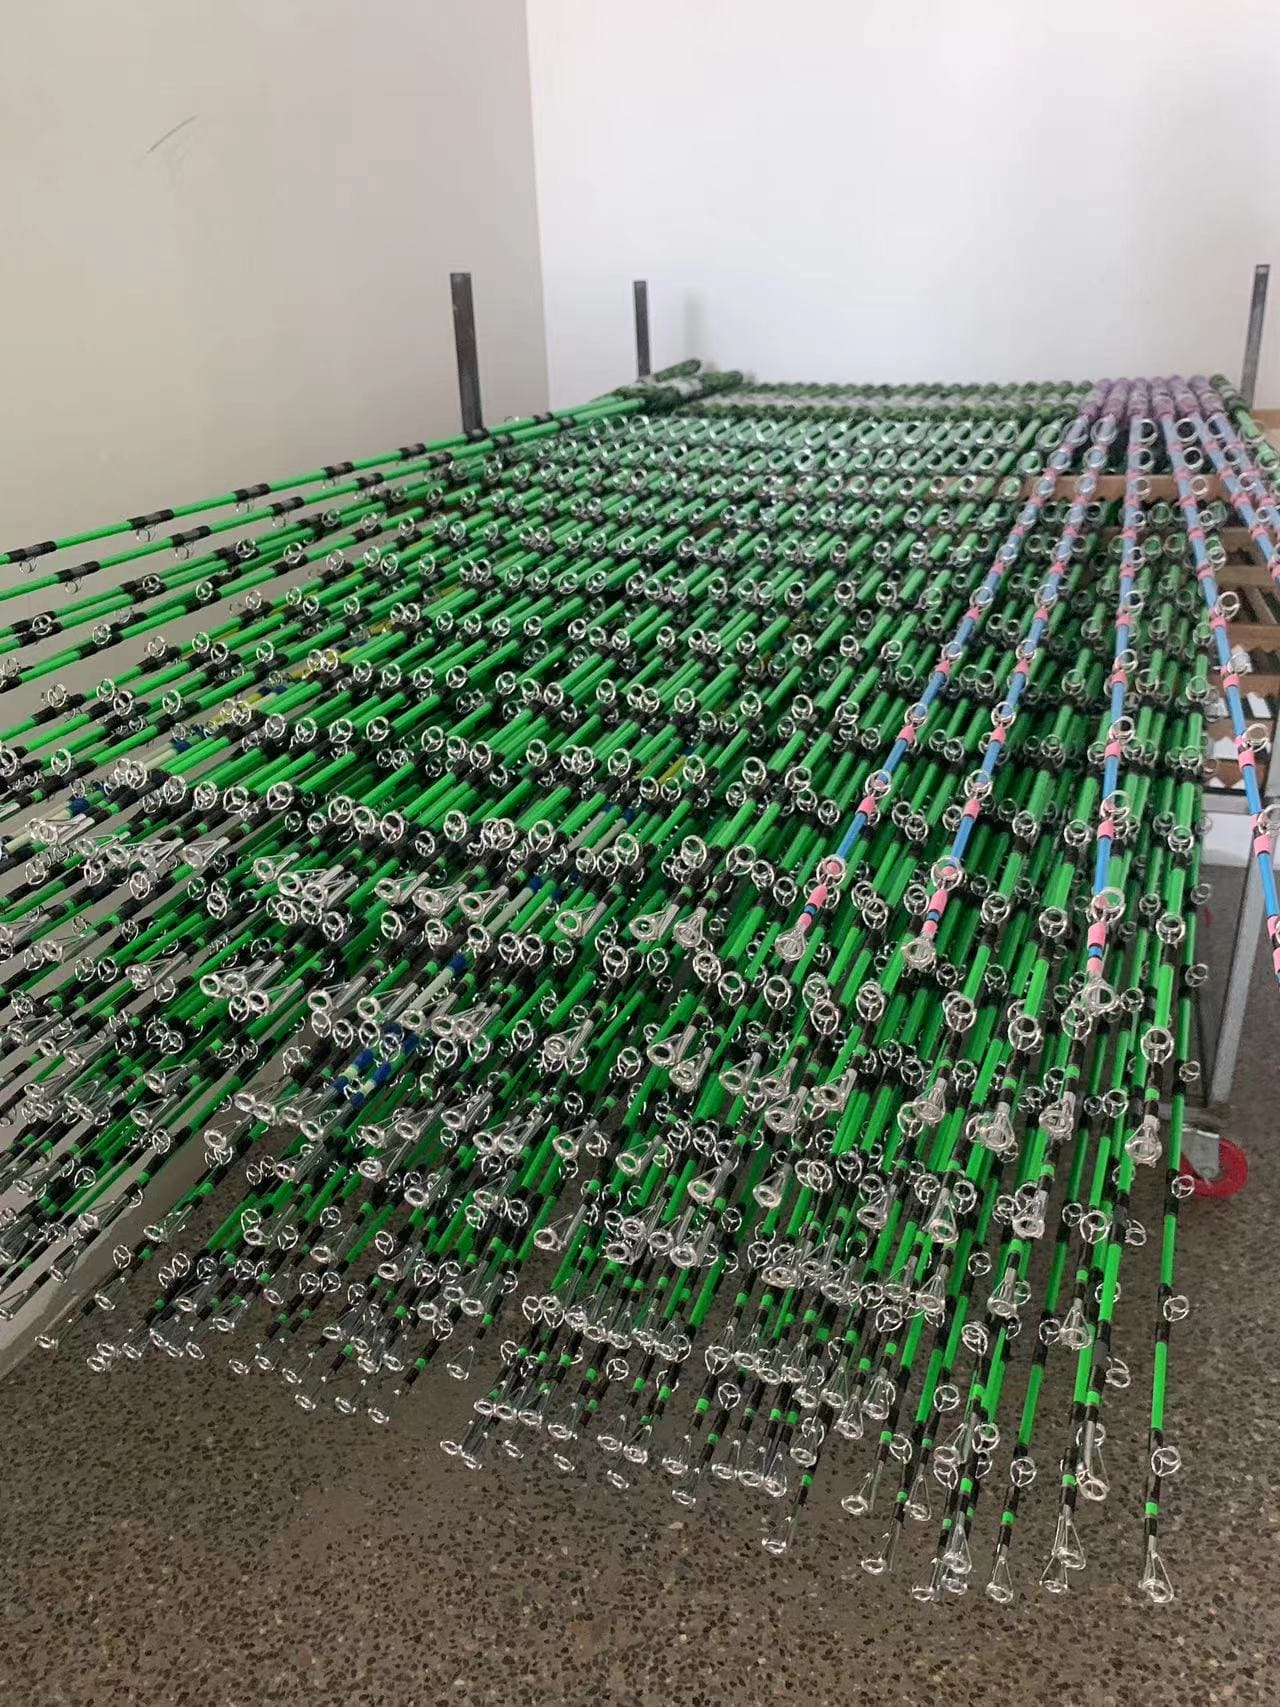
Building a fishing rod is a delicate art that requires both precision and expertise. Whether you are crafting a high-end custom rod or a simple functional fishing rod, understanding each stage of production will give you deeper insight into the craftsmanship behind these tools.
Step 1 – Cold Warehouse: Storing Materials Properly
The first step in rod manufacturing starts with proper material storage. Carbon prepreg, a key material in fishing rod construction, is stored in a cold warehouse (cold storage). This environment ensures that the material retains its integrity and doesn’t cure prematurely, which could compromise the quality of the final product. By maintaining an optimal temperature, factories can extend the shelf life of the materials, ensuring they are ready for use in the next steps.
Step 2 – Template Cutting and Mandrel Preparation
Once materials are ready, the next step is template cutting. Templates are used to create consistent shapes for every fishing rod produced in the factory. Each fishing rod has unique specifications depending on its design, and templates help maintain those standards across multiple units. After cutting the templates, the mandrel is prepared. This tool forms the core of the fishing rod, determining its overall flexibility and strength.
Step 3 – Attaching Carbon Prepreg to the Mandrel
At this stage, the carefully prepared carbon prepreg is applied to the mandrel. The process of attaching this material is both precise and delicate. The carbon fibers must be aligned correctly to ensure that the rod maintains the desired performance characteristics. This step is essential for the strength and flexibility of the fishing rod.
Step 4 – Rolling and Strengthening the Rod Structure
The next step is rolling, where the carbon prepreg material is tightly wound around the mandrel. This process is critical for achieving a smooth and uniform structure. The material is rolled to ensure even distribution and maximum strength. Afterward, the rod undergoes a strengthening process, which involves adding layers and applying pressure to reinforce the structure.
Step 5 – Polypropylene Tape and Taping for Precision
To secure the materials and maintain their positioning, polypropylene tape is used. This tape is durable and resistant to high temperatures, which is essential in maintaining the quality of the build during subsequent steps. Taping is a meticulous task, ensuring that each layer is secured in place as the rod is rolled and shaped.
Step 6 – Baking Oven and Mandrel Removal
After the materials are in place and secured, the fishing rod is placed in a baking oven. This step ensures that the resin in the carbon prepreg fully cures, giving the rod its final structural integrity. Once the baking process is complete, the mandrel is carefully removed, revealing the blank fishing rod that is now ready for further shaping.
Step 7 – Cutting and Untaping for Final Shaping
Once the mandrel is removed, the excess material is cut away. The fishing rod is then untaped, and the final shape is refined. This is the point at which any imperfections are corrected before moving on to the next stage.
Step 8 – Sanding and Joint Processing
The next step involves sanding the rod to create a smooth, consistent surface. Sanding helps remove any rough edges or inconsistencies that may have formed during the previous steps. Joint processing is also completed at this stage to ensure that the rod’s handle and shaft join seamlessly without any weaknesses.
Step 9 – Blank Rod Check and Painting
At this stage, the blank rod undergoes a thorough blank rod check to ensure it meets the quality standards set by the factory. Any defects are identified and corrected. After the inspection, the rod is painted, giving it its final appearance and an additional protective layer. Painting also provides an opportunity for custom designs or branding.
Step 10 – Printing and Winding for Customization
After painting, printing is applied for branding, logos, or custom designs. Following this, the rod enters the winding phase, where guides and other components are attached to the rod using specialized threads. This process ensures that the rod is fully functional and ready for use.
Step 11 – Adjustment and Product Assembly
Now that the basic structure is in place, the fishing rod undergoes fine-tuning. Adjustment of the reel seat and other components is necessary to ensure the rod’s comfort and usability. Product assembly is the final step, where all components, including the handle and guides, are assembled into a complete fishing rod.
Step 12 – Final Inspection, Packing, and Shipping
Before the fishing rods are packed and shipped, each one undergoes a final inspection to ensure that it meets the highest quality standards. Once passed, the rods are carefully packed and prepared for shipping to wholesalers and retailers, who will then distribute them to fishing enthusiasts around the world.
Action Us
If you are looking for the best rod building supplies for your next fishing rod project, we’re here to help! Our team of experts can guide you in choosing the right materials and provide professional advice on every step of the rod-building process. Contact us today for the highest quality products and solutions tailored to your needs.

